


Every Classic White Shaker RTA (Ready-To-Assemble) cabinet ships flat-packed with all panels, hardware, and a printed hardware bag included. No special tools or woodworking experience are required — most cabinets go together in 15–30 minutes with basic hand tools.
What You'll Need
- Phillips screwdriver or cordless drill/driver
- Rubber mallet (for cam-lock and dowel joints)
- A clean, flat work surface (a moving blanket or cardboard protects the finish)
- A helper for larger wall and pantry cabinets
General Assembly Steps
- Unpack and inspect. Lay out all panels and check the hardware bag against the included parts list before assembling. Report any shortage or damage within 48 hours per our Returns & Damage Policy.
- Attach the sides to the bottom (and top, if applicable). Align the pre-drilled cam-lock and dowel holes, insert the dowels, and thread the cam locks in about three-quarters of the way.
- Add the back panel. Slide it into the rear grooves to square up the box, then tighten every cam lock fully.
- Attach the face frame. Glue and pin (or screw, per the hardware bag) the face frame flush to the front edges of the sides.
- Install shelves or drawer boxes. Fixed shelves seat into pre-drilled shelf-pin holes or shelf clips; drawer boxes mount on the included soft-close undermount slides.
- Hang the doors. Attach the soft-close hinges to the door first, then screw the hinge plate to the cabinet side. Adjust the three-way hinge screws for an even reveal.
- Attach doors/drawer fronts and level. For base cabinets, thread on the adjustable leveling legs before setting the cabinet in place; wall cabinets mount using a ledger board or French cleat and wall studs.
Assembly by Cabinet Type
Base Cabinets
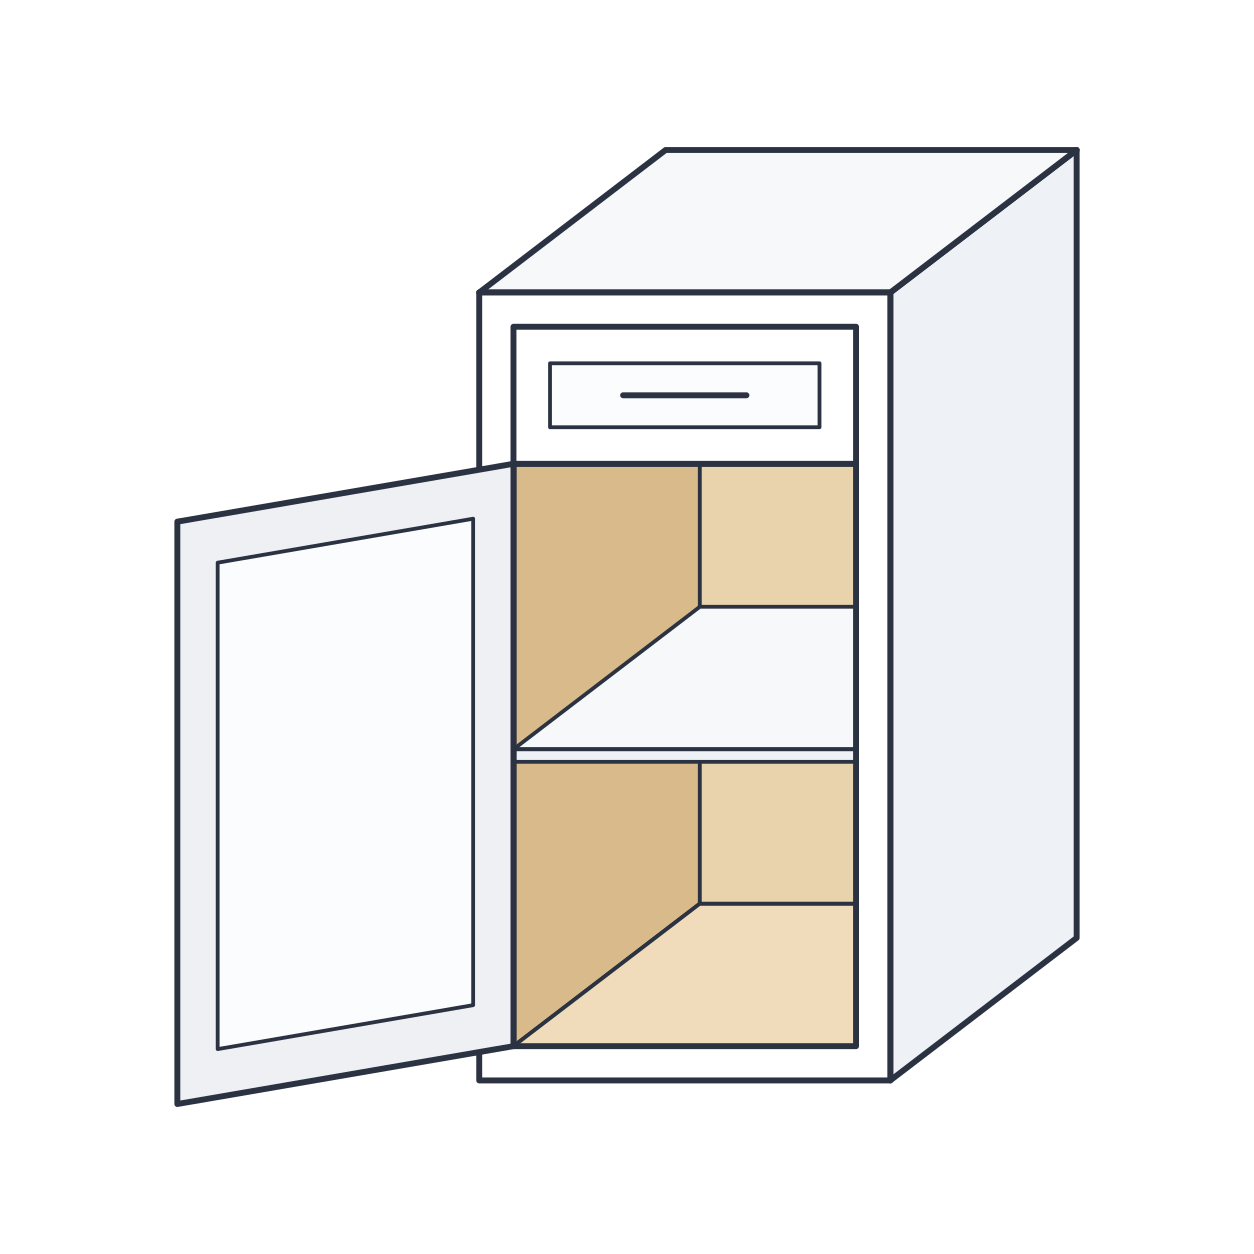
Single- and double-door base cabinets, drawer bases, and wide base cabinets share the same core build: box (sides + bottom + back) → face frame → toe-kick notch → leveling legs → doors and drawer fronts last, once the box is set and leveled.
Wall Cabinets
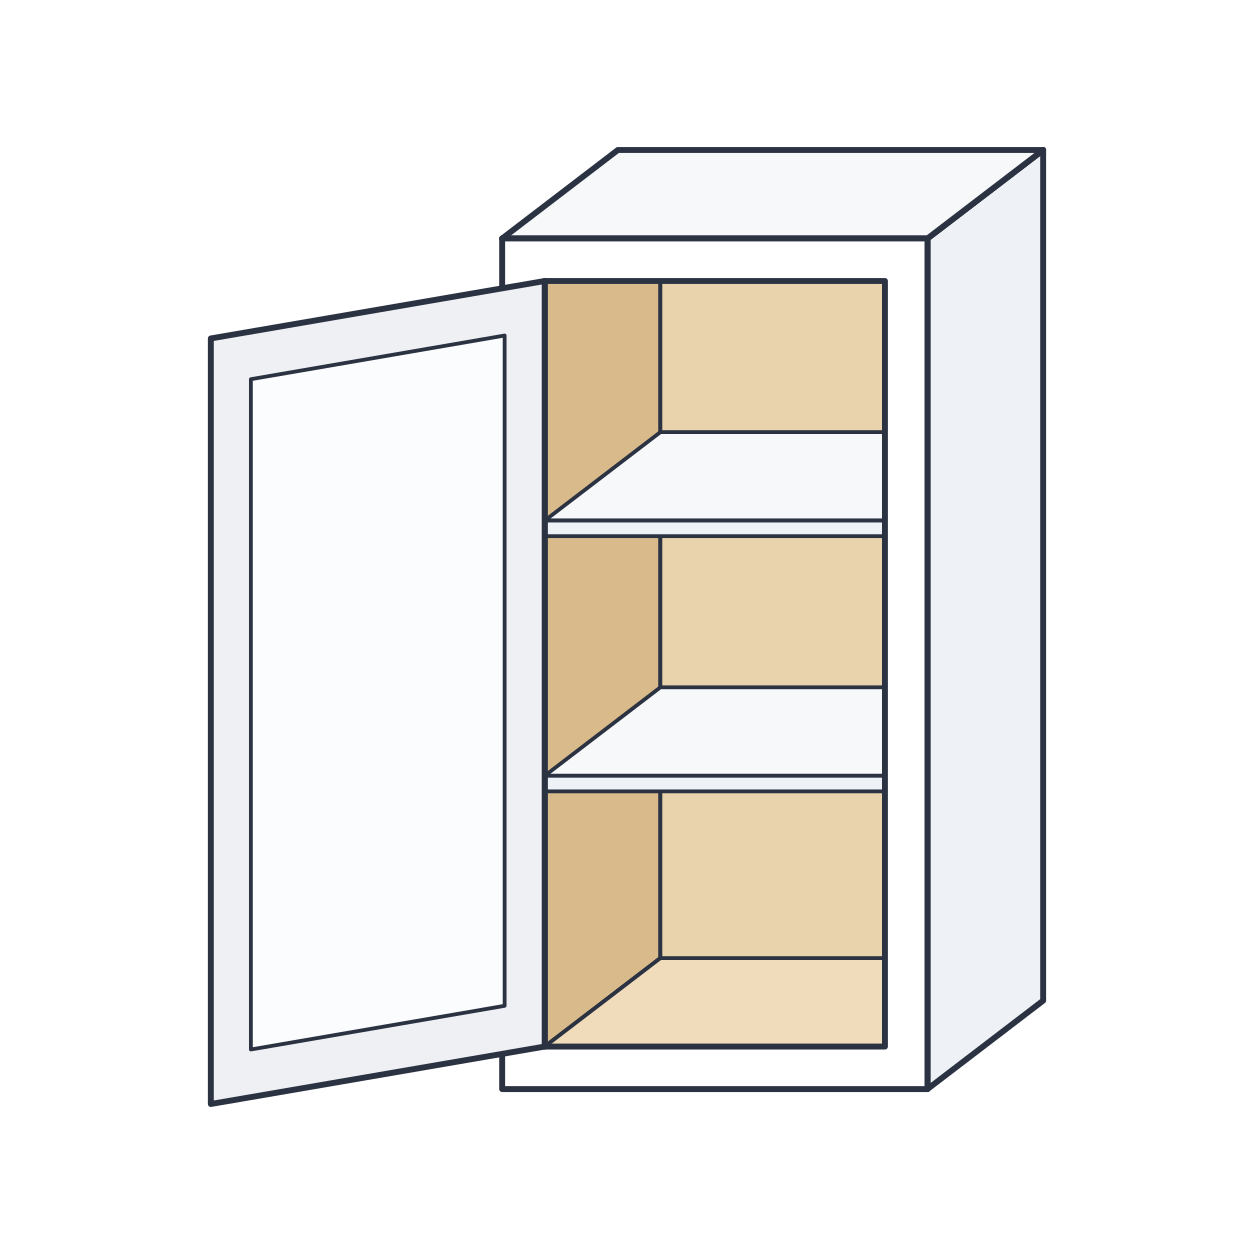
Wall cabinets add a top panel to the box. Assemble the box complete with doors and adjustable shelves on your bench first — it's much easier to fasten a finished cabinet to a ledger board and wall studs than to build it in place overhead.
Blind Corner & Lazy Susan Base Cabinets
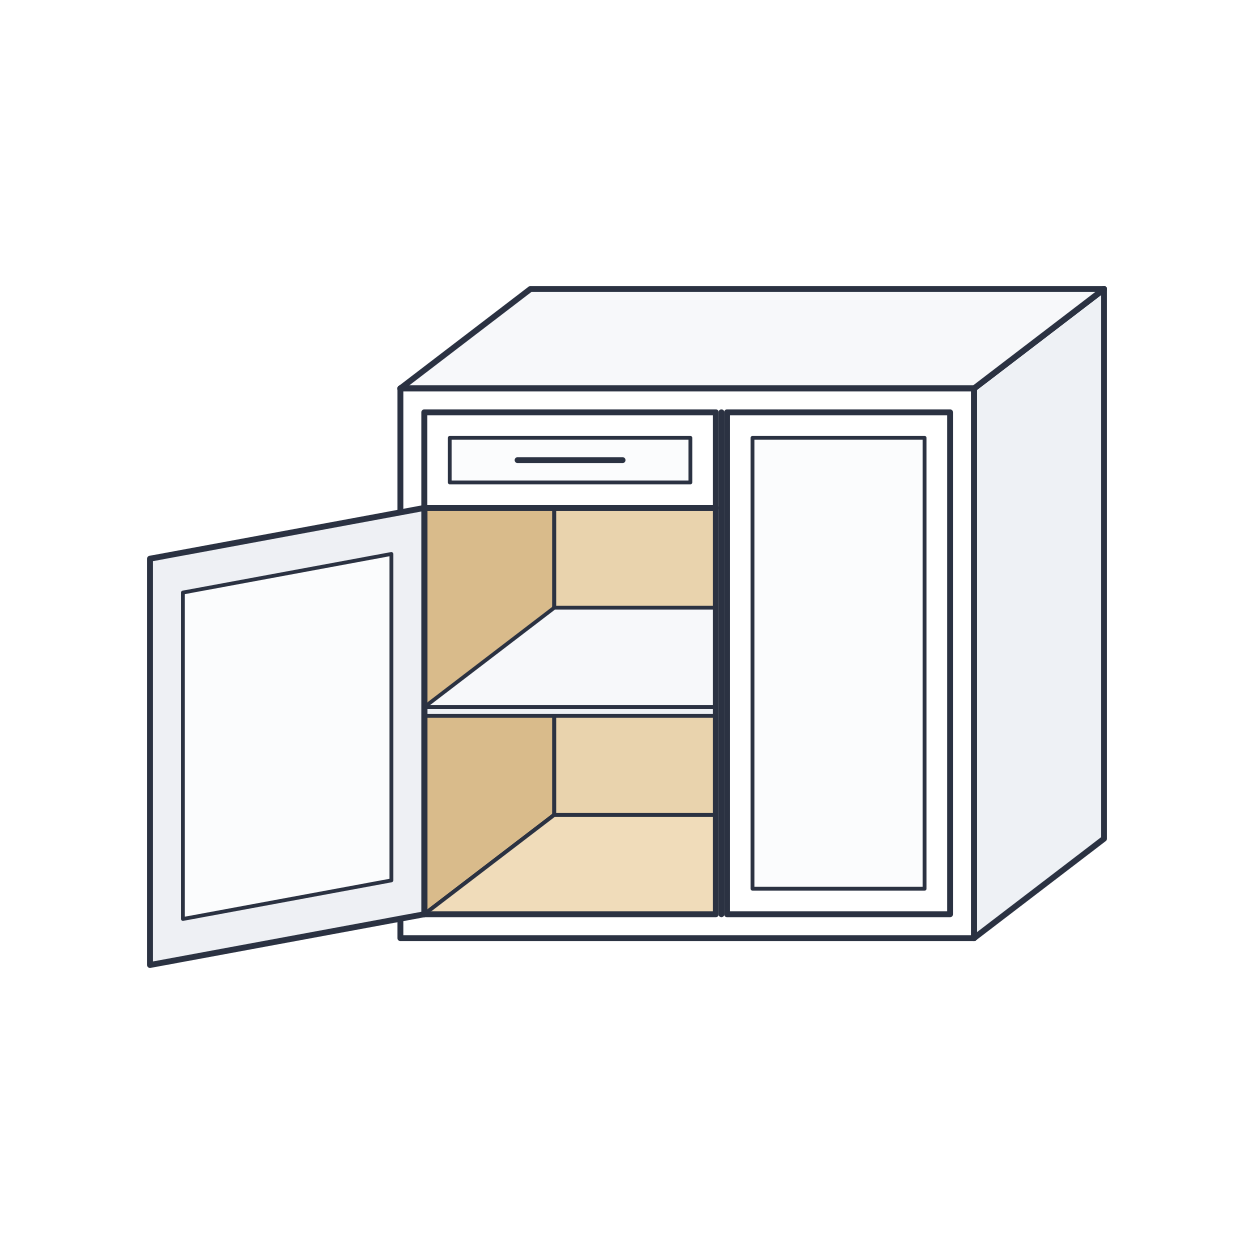
The blind corner base has an extra-deep blind side panel — build the box a few inches larger on that side to allow clearance for the adjoining cabinet's door swing. The lazy Susan cabinet's rotating trays ship pre-assembled as a separate package; the cabinet box itself assembles like a standard corner base, then the tray unit drops in and is screwed to the pre-marked mounting pole location.
Sink Base & Sink Corner Cabinets
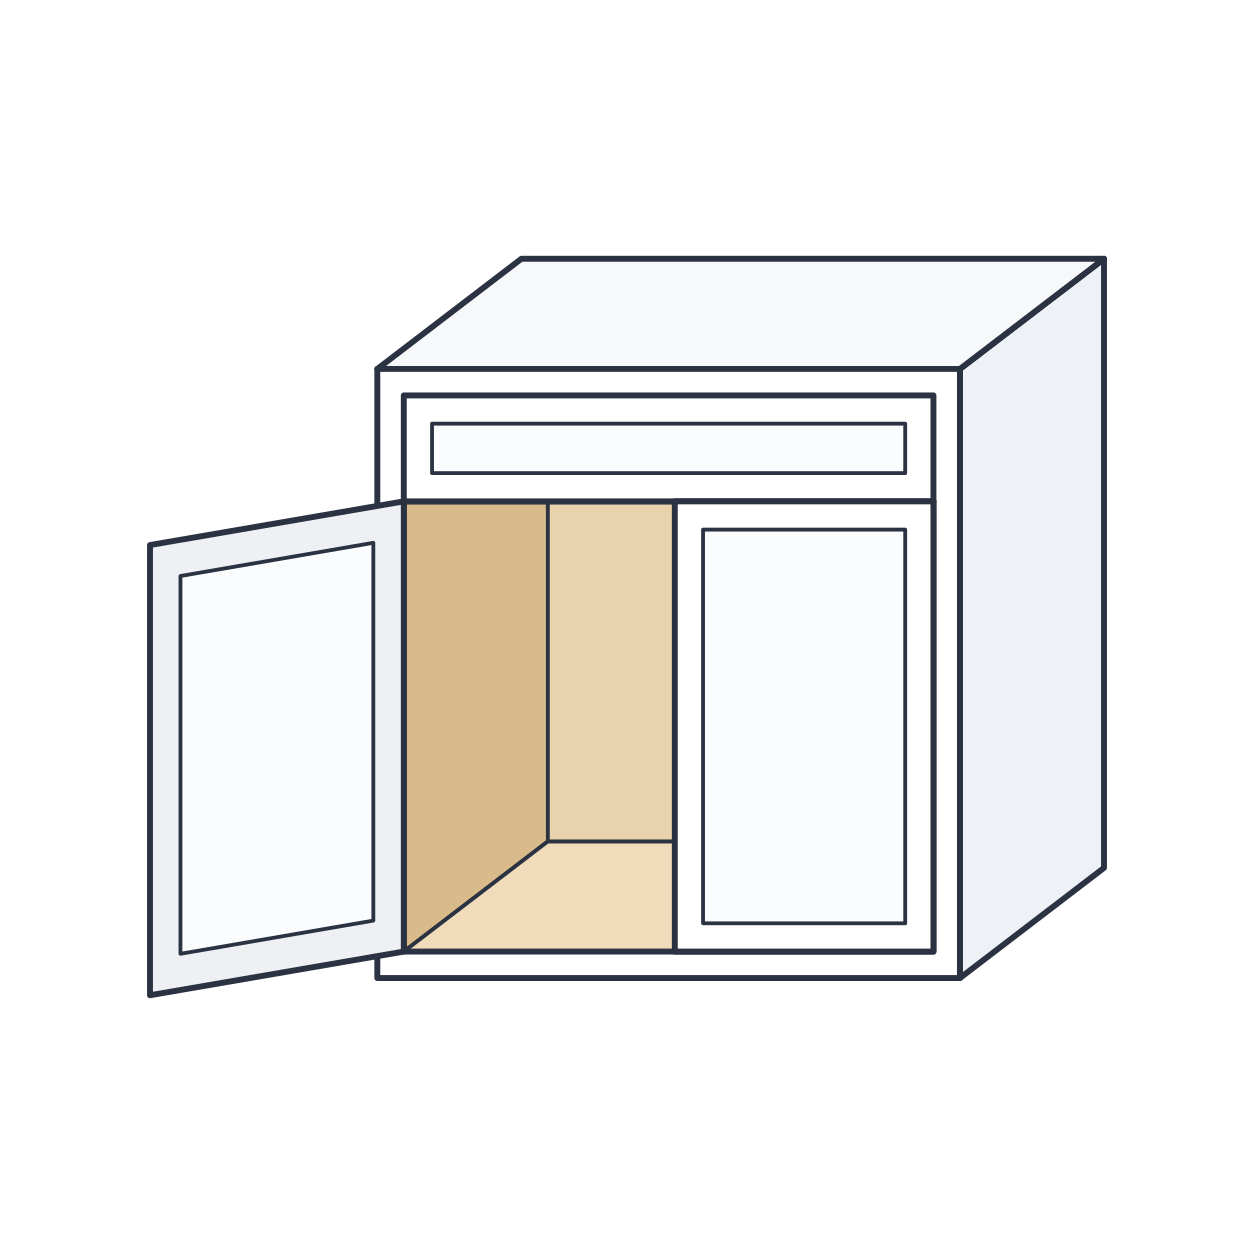
Sink base cabinets omit the fixed shelf and back stretcher to clear plumbing; a false-front tilt-out tray attaches to the door for sponge storage. Diagonal sink corner cabinets assemble like the blind corner but with an angled front face frame — dry-fit the frame before gluing to confirm the angle matches your layout.
Diagonal Corner, Easy-Reach & Blind Corner Wall Cabinets
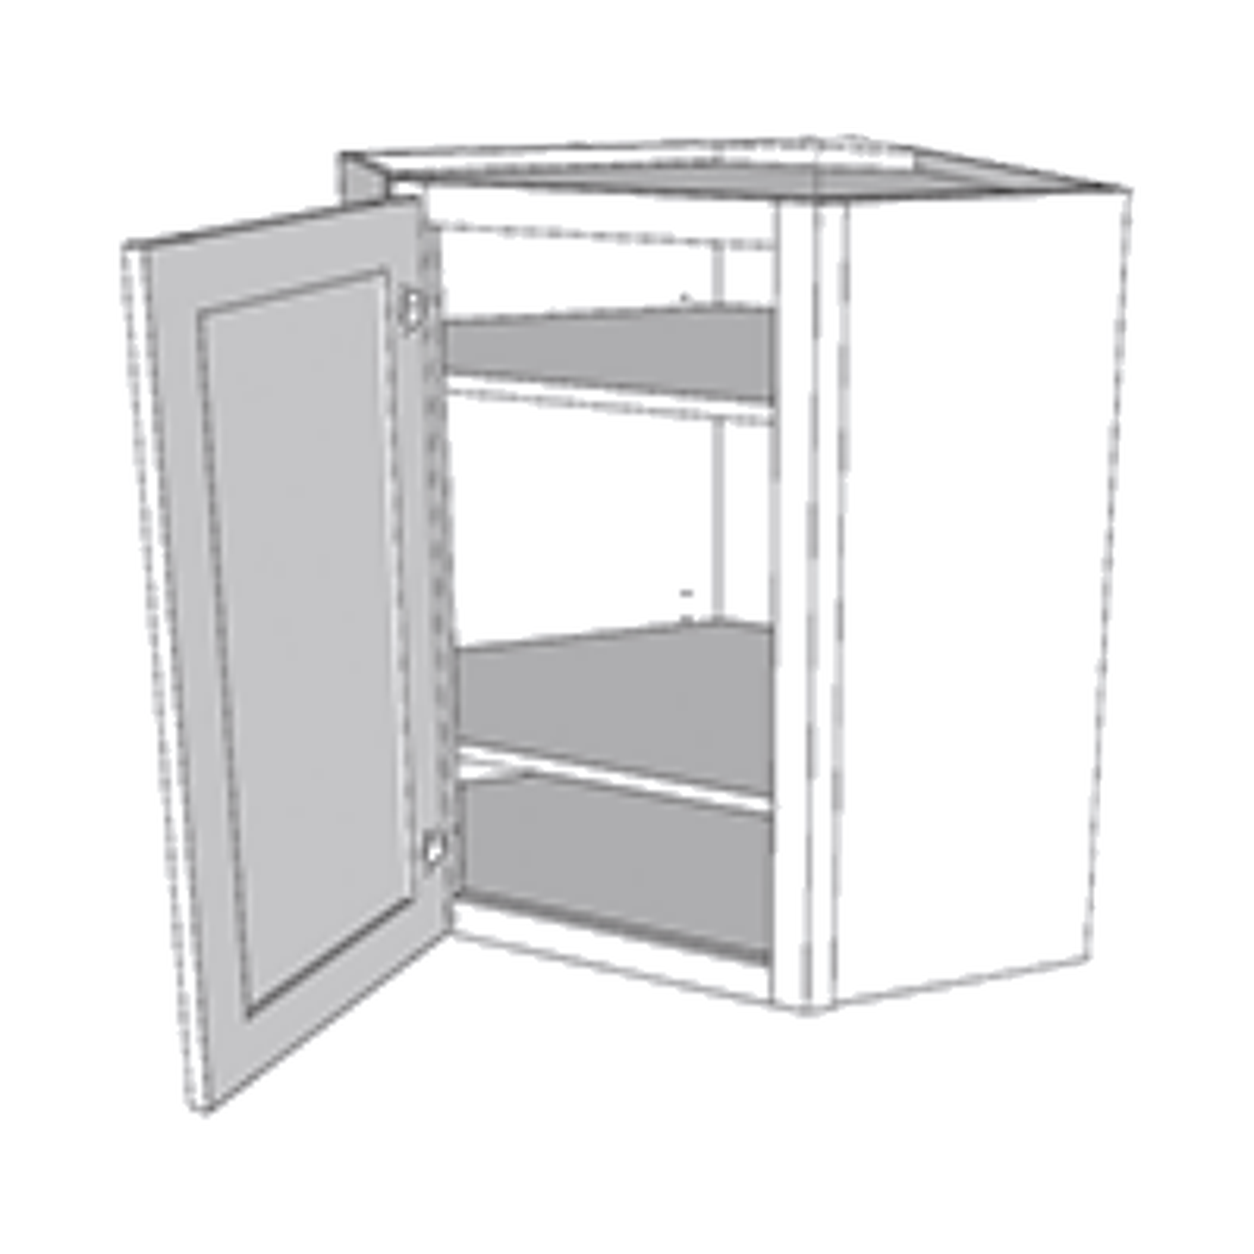
These use an angled or offset side panel instead of a square box. Assemble the two side panels to the top and bottom first to establish the correct angle, then square in the back panel before adding the face frame and door.
Spice Rack / Roll-Out Pullout Cabinets
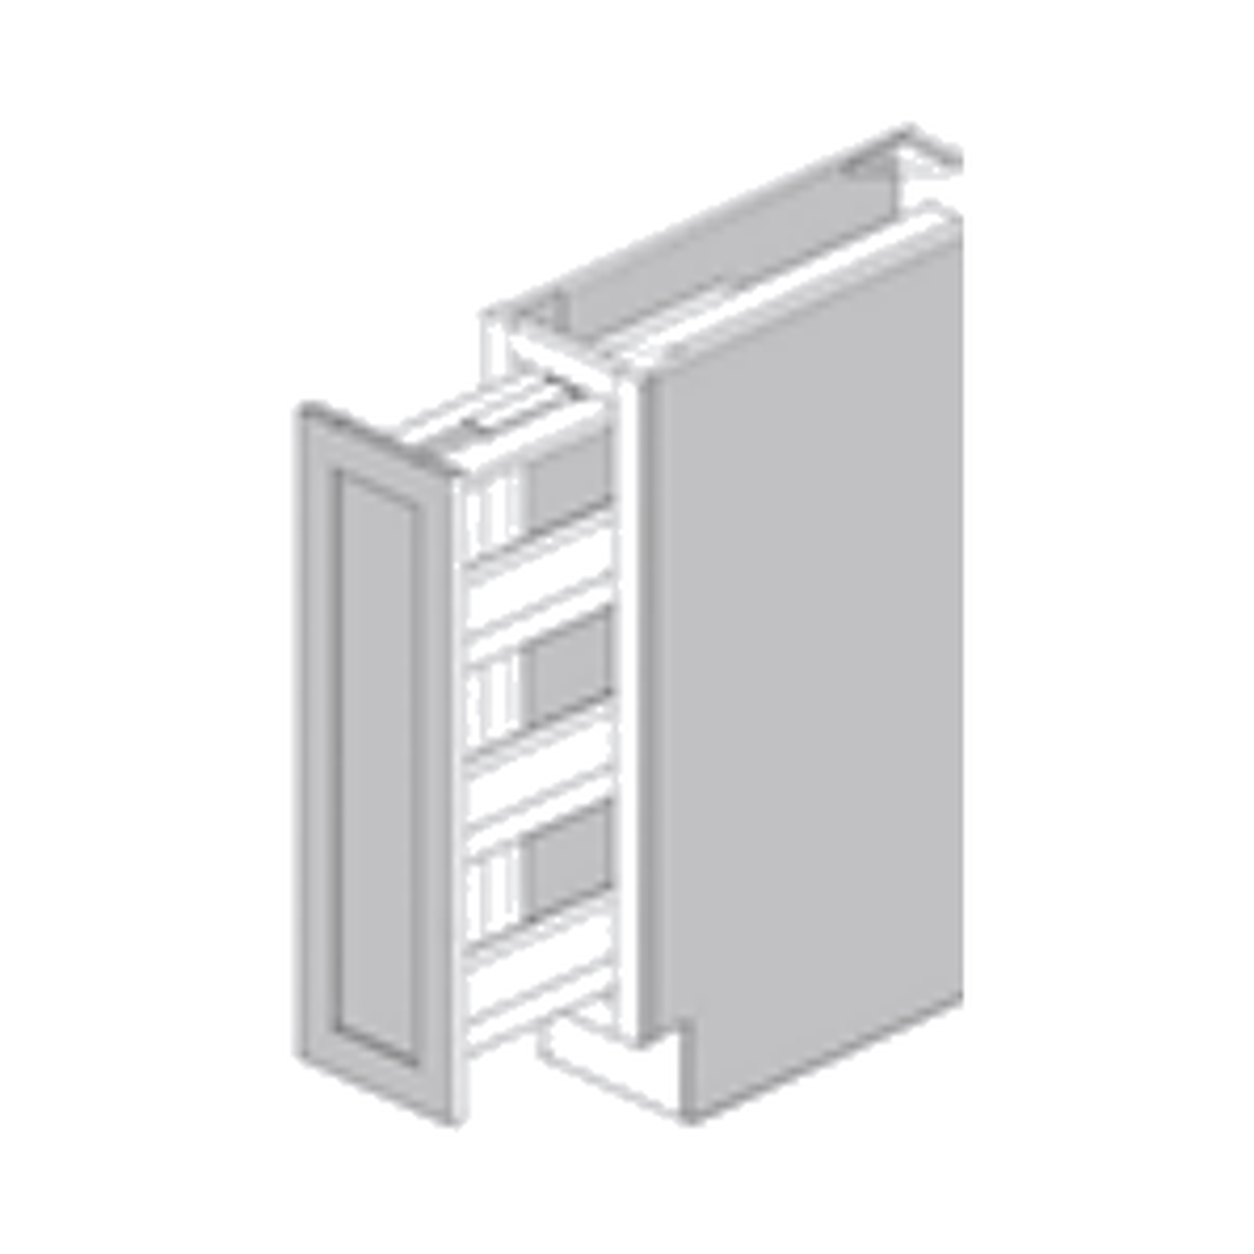
The narrow pullout box assembles like a standard base cabinet. The pull-out tray frames mount on the included full-extension slides — attach the slides to the cabinet interior at the marked heights before inserting the trays.
End Shelves, Wine Rack & Open Shelving
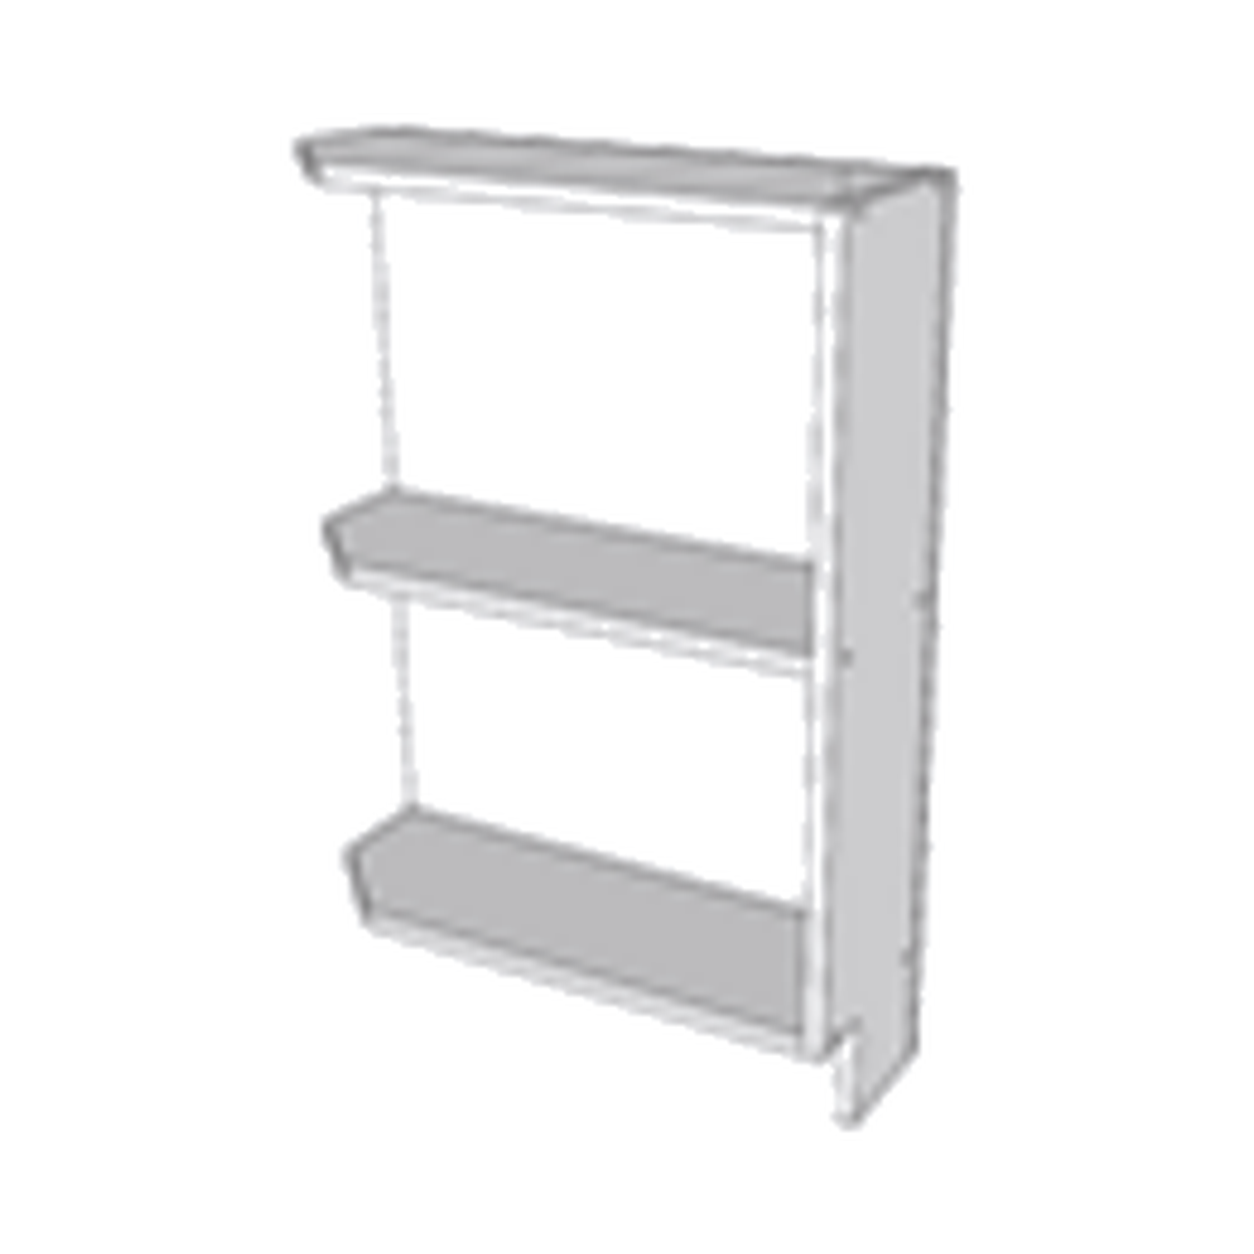
These are fully finished on the exposed side and shelves — there's no separate face frame to attach, so panels join directly at the cam locks. Because there's no door, double-check shelf spacing before final tightening.
Microwave & Oven Cabinets
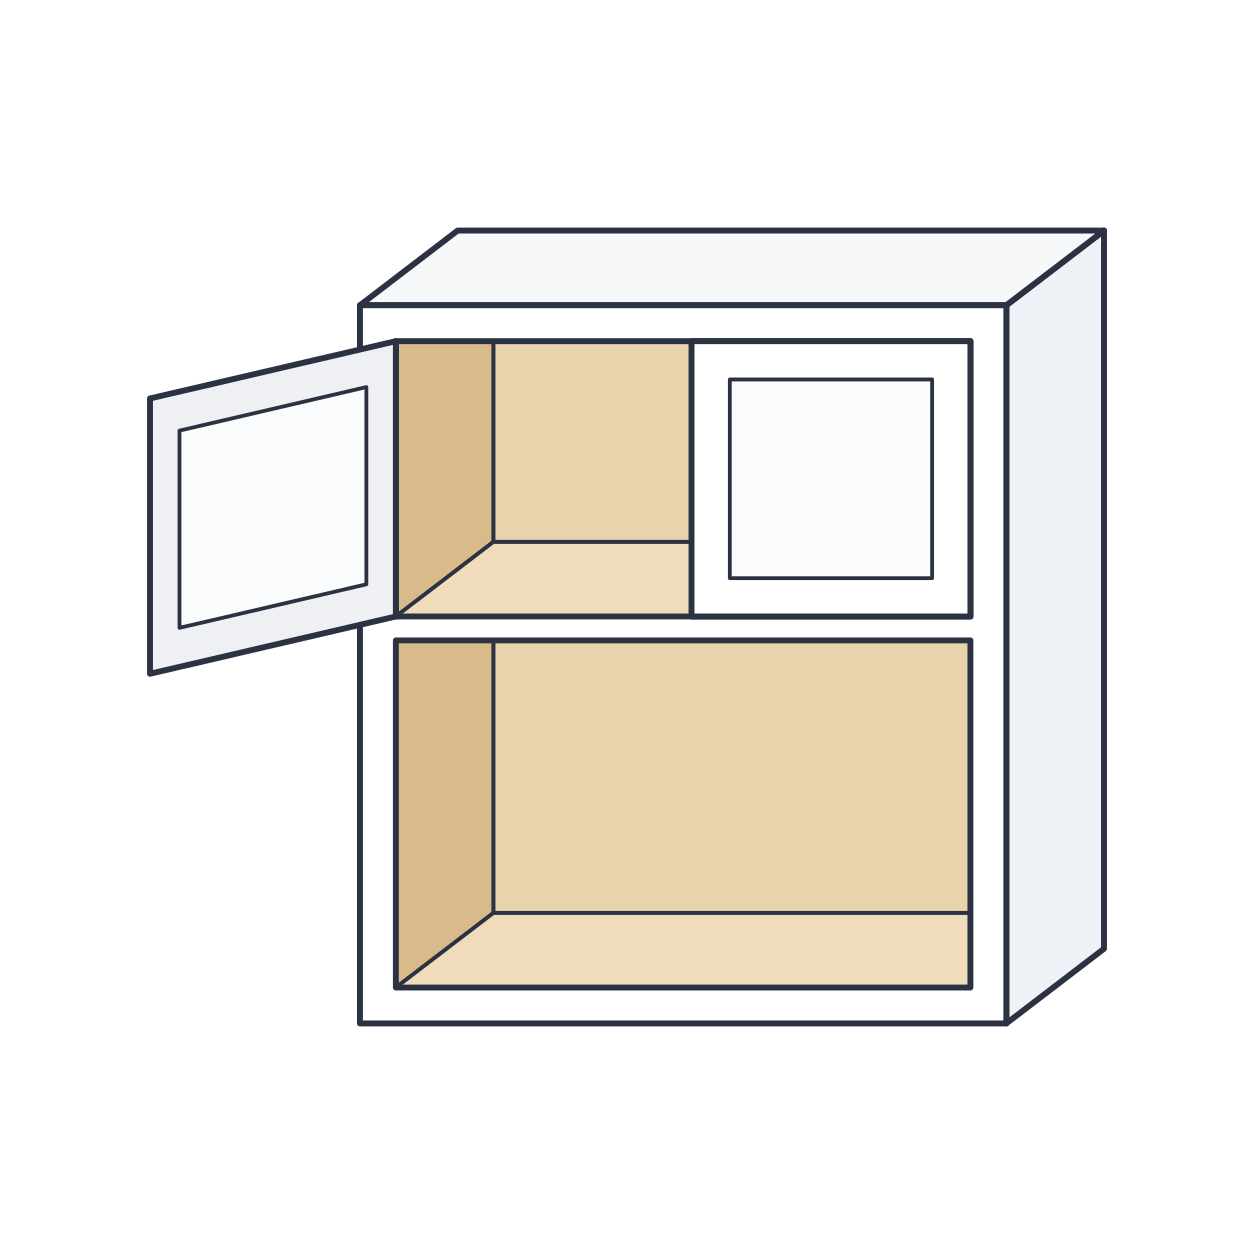
Verify your appliance's cutout dimensions against the cabinet's interior opening before assembly — these cabinets are pre-notched for standard trim kits, but appliance depth varies by brand.
Pantry Cabinets
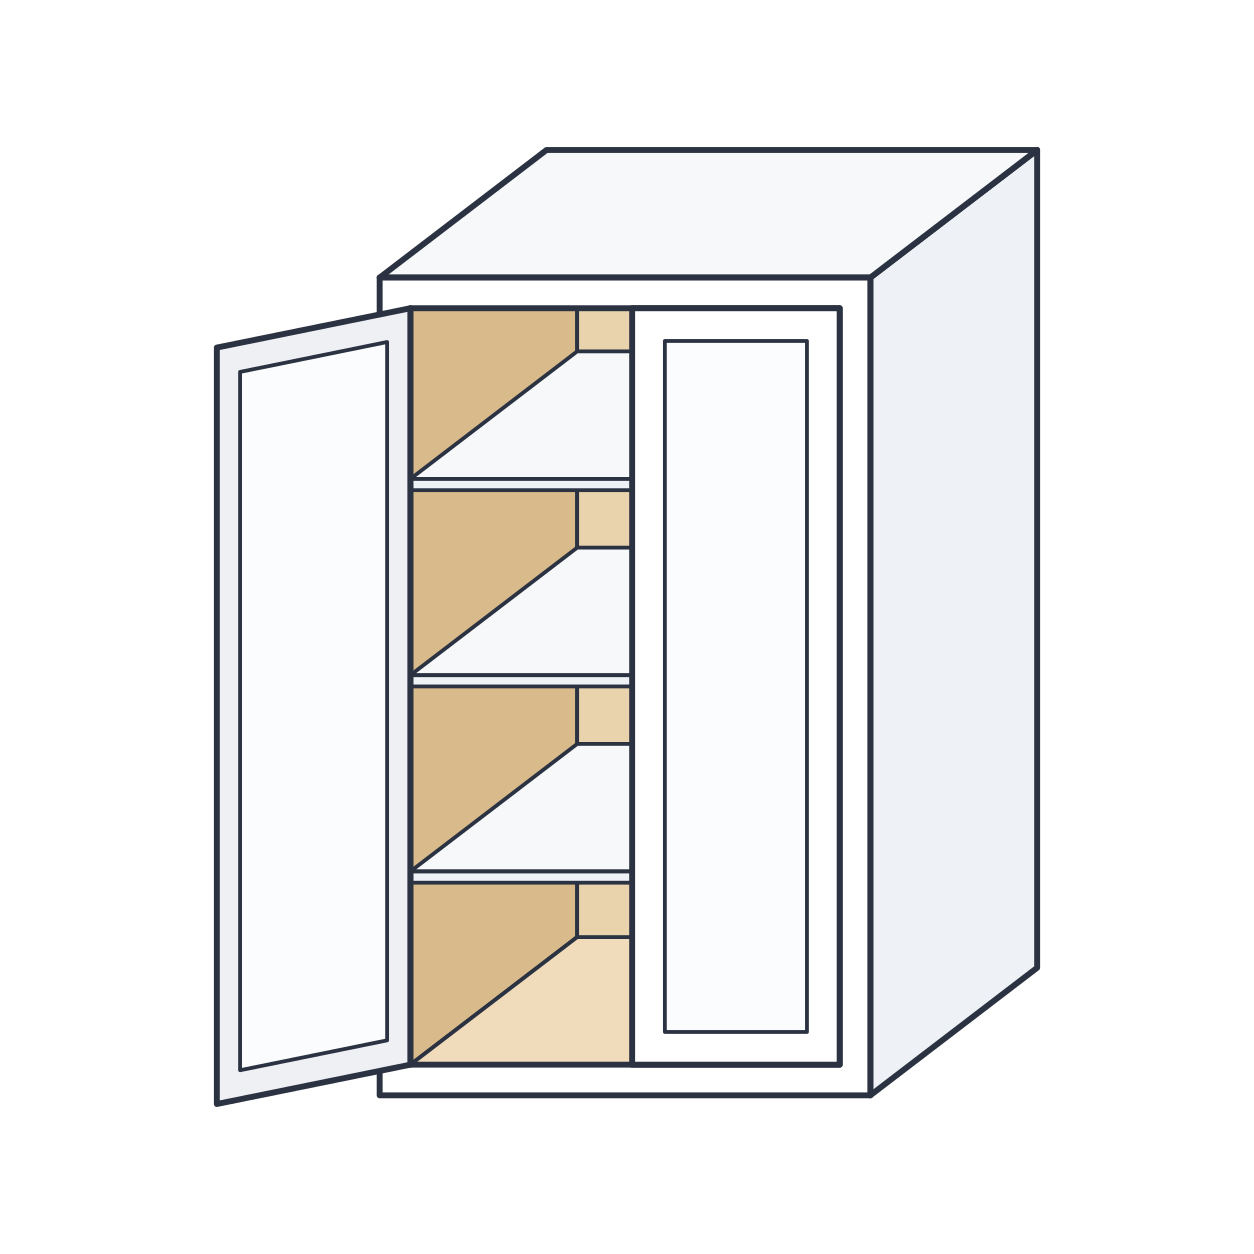
Tall pantry cabinets ship in two stacked sections for easier handling. Assemble each section separately, then join the sections together before attaching the face frame and doors — this keeps the tall box square during assembly.
Fillers, Panels, Toe Kicks & Moldings
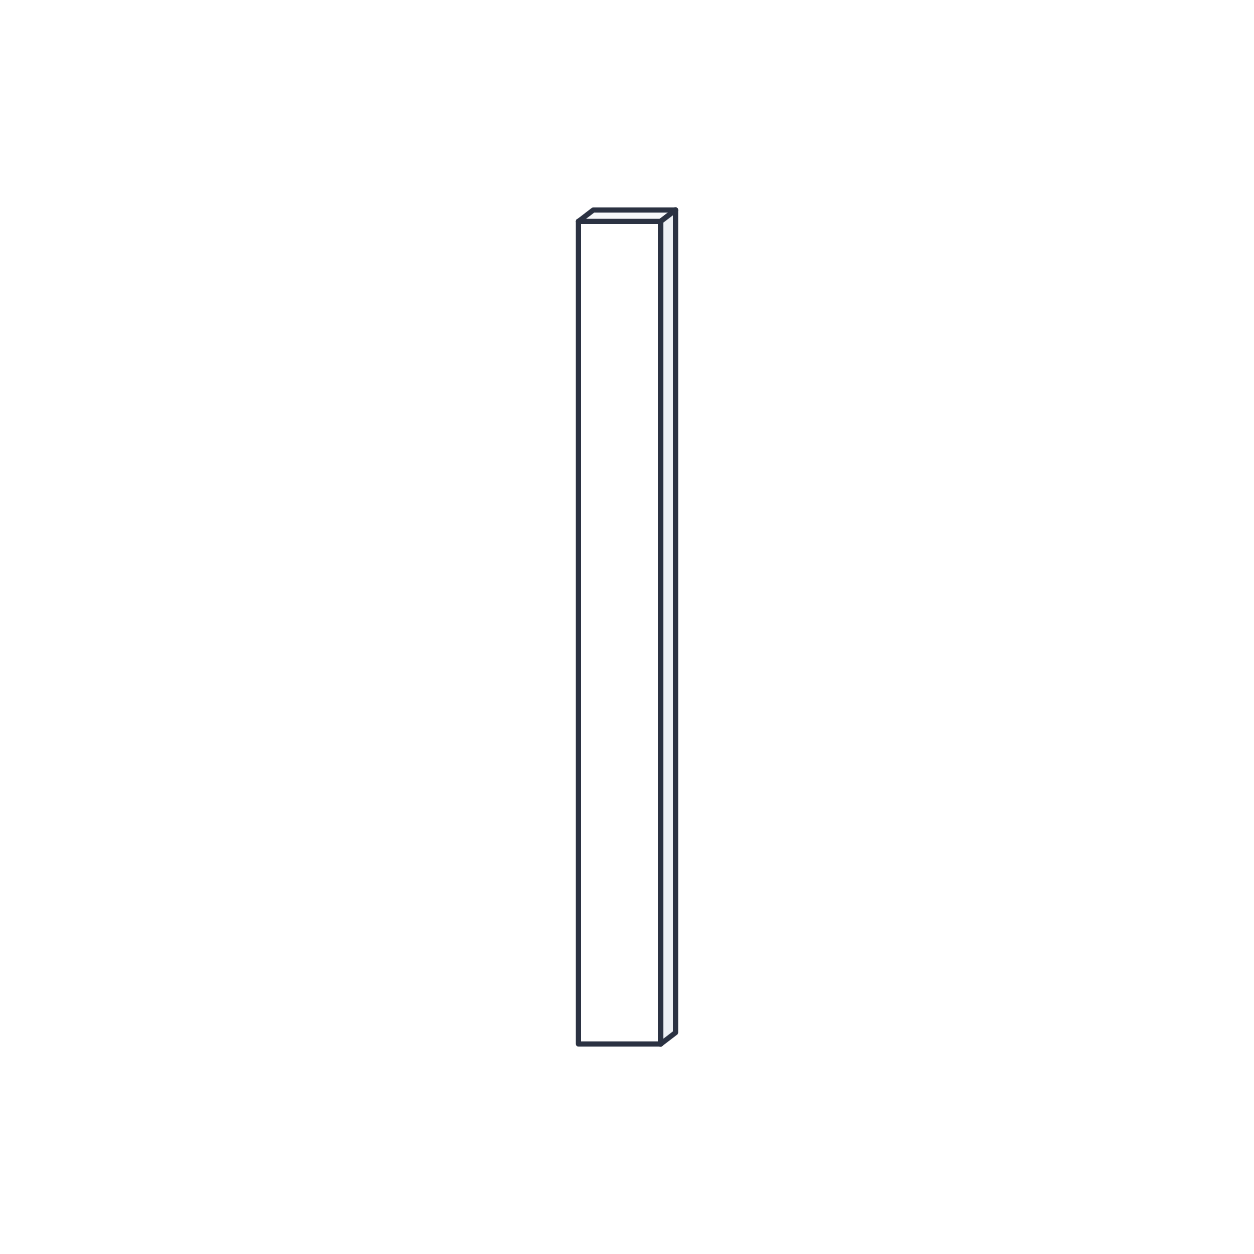
These finishing pieces don't require assembly — they're cut to fit on site and attached with finish nails or screws once your cabinet run is installed and leveled.